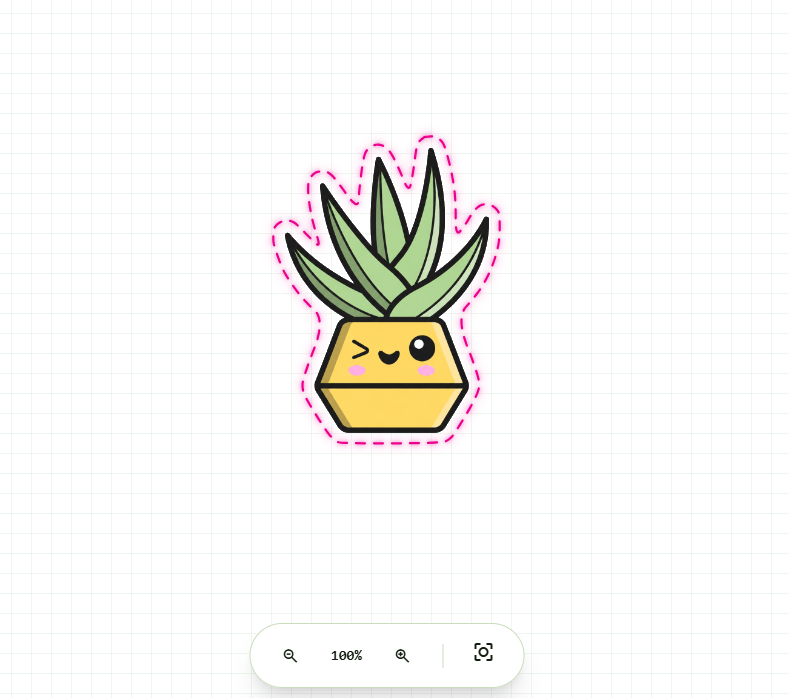
What Is a CutContour (Spot-Colour Cut Layer)?
A CutContour is a named spot colour applied to the vector line you want cut, so that your RIP or cutting software can tell cut paths apart from printed artwork. Here is what that means and how to add one to your file.
The short definition
A CutContour is a special swatch - a named spot colour - that you apply to the outline you want the machine to cut. When the file reaches the RIP (the software that drives a print-and-cut device), it looks for paths in that spot colour and routes them to the blade instead of the print heads. Everything else in the file is treated as artwork to be printed. In other words, the spot colour is a label that says "this line is a cut, not something to ink".
"CutContour" is Roland's convention, used by VersaWorks. It is the best known name, but it is not the only one. Other systems look for their own reserved spot names, so the exact word matters to the software reading your file.
Every system has its own name
The idea is the same across machines, but the spot colour has to be named exactly the way the software expects. A few common examples:
- CutContour - the Roland and VersaWorks standard.
- Cut or Thru-cut - used by various RIPs for a full cut through the material.
- Crease - a separate spot for a fold or score line rather than a full cut.
- Regmark - some workflows use a named spot for the registration marks themselves.
Get the name wrong, even by a capital letter or a space, and the RIP will not recognise the layer. It will simply print your cut line as a thin coloured stroke and cut nothing.
What makes a CutContour valid
A cut line is only recognised when it is set up correctly. There are four things that matter:
- It must be a spot colour, not a process colour. A CMYK or RGB build will not work, because the RIP identifies the cut by the spot swatch, not by how the colour happens to look. The swatch has to be defined as a spot (a named separation).
- It is applied as a stroke on the path. The cut colour goes on the outline of the shape, not as a fill. The stroke defines the exact route the blade follows.
- It is usually set to overprint. Overprint stops the cut stroke from knocking a hole in the artwork underneath it. Without overprint, the spot-coloured line can punch a gap in your print where the blade path sits.
- It usually lives on its own layer. Keeping cut paths on a dedicated layer, separate from the printed artwork, makes the file easy to check and easy for the RIP to separate.
How the software uses it
At RIP time, the software separates the file into what gets printed and what gets cut. Any path drawn in the recognised spot colour is pulled out of the print data and sent to the cutting unit as a tool path. The printer lays down the artwork, the machine reads the registration marks to work out where the sheet actually sits, and then the blade follows the CutContour paths. The spot colour is the bridge between your design and the blade - it is how a single file can carry both a picture to print and a shape to cut.
How to create one by hand
In Adobe Illustrator or CorelDRAW you create the cut colour as a new spot swatch and name it exactly:
- Open the Swatches panel and create a new swatch.
- Set its colour type to Spot, not process.
- Name it precisely for your machine - for example CutContour for a Roland. Match the spelling and capitalisation your RIP expects.
- Select the outline you want cut and apply the swatch as a stroke, then set that stroke to overprint.
- Move the cut paths to their own layer so they are easy to find and check.
It is fiddly work, and a small mistake - a process colour instead of spot, a typo in the name, a missing overprint - is enough to make the cut fail silently.
The faster way: let CutPath Pro name the layer
CutPath Pro removes the guesswork. Upload your PNG or JPG, it traces a clean cut line that hugs the art, and it exports a file with a correctly named cut layer so your RIP recognises it straight away. You choose the machine, and the spot colour and layer are set up the way that software expects - as a spot, on its own layer, ready to cut. No hand-built swatches, no silent failures.
Get a named cut layer, done for you
CutPath Pro exports a correctly named spot-colour cut layer your RIP will recognise. Your first cut file is free - no card needed.