Roland CutContour Setup: Spot Colours That Cut Right
On a Roland print-and-cut machine, a single spot colour decides whether your contour cuts cleanly or not at all. It has to be named "CutContour" exactly, applied the right way, and left on its own layer. Here is how to set it up - and how to skip the fiddly bit.
How Roland machines separate print from cut
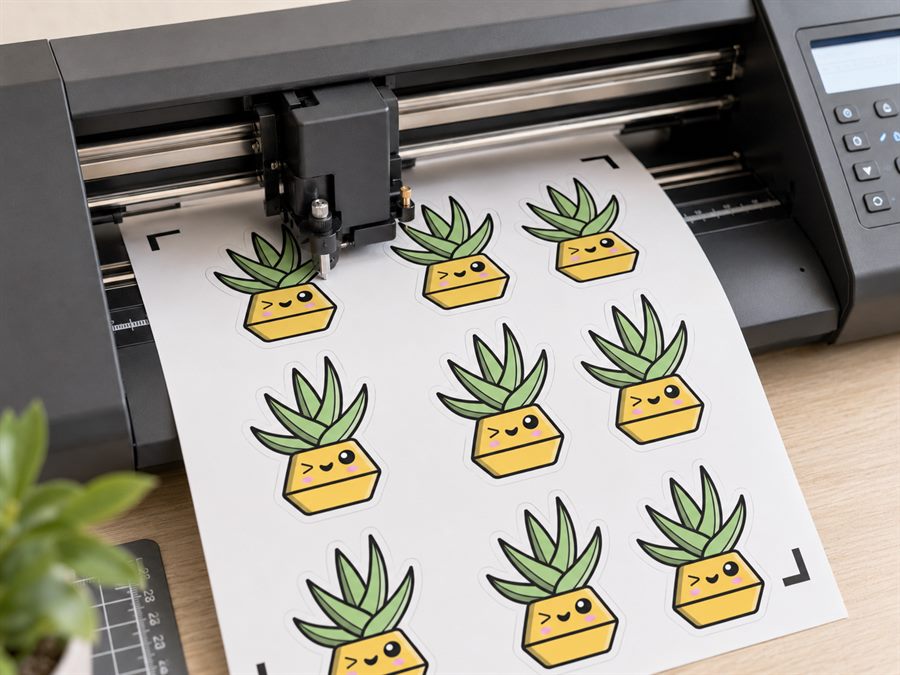
Roland print-and-cut devices such as the VersaCAMM and TrueVIS series are driven by the VersaWorks or VersaWorks Dual RIP. The RIP takes your artwork, sends the colours to the printer, then drives the blade around your cut line. The only way it can tell which paths are meant to be cut rather than printed is by looking for a specifically named spot colour. That spot colour is your cut line. Get the name and setup right and VersaWorks does the rest automatically.
This matters because the print and the cut happen in one pass on the same media, without you re-registering the sheet by hand. The printer lays down the artwork, then the RIP feeds the same job to the cutting carriage, so the contour has to be defined inside the file itself rather than set up separately at the machine. A spot colour is a robust way to carry that instruction from your design software all the way through the RIP.
The spot colour must be named exactly "CutContour"
VersaWorks looks for a spot swatch named CutContour. The spelling and capitalisation matter: a capital C, a lower-case "ut", a capital C again, then "ontour", with no space in the middle. "Cut Contour", "cutcontour" or "CutLine" will not be recognised, and those paths will print as artwork instead of being cut.
Newer setups also support multiple cut passes. If you need more than one cut operation - for example a perforated pass and a full-cut pass - you can use CutContour1 and CutContour2 as additional named spot colours, and assign each its own cutting condition in VersaWorks.
Create the spot swatch in Illustrator or CorelDRAW
The steps are the same idea in either program: you are making a new spot colour, not a process colour, and naming it precisely.
- Open the Swatches panel and create a new swatch.
- Set the swatch type to Spot Colour, not process. This is the single most important setting - a process colour of any name will be sent to the printer, never to the blade.
- Name it CutContour exactly.
- Give it an obvious appearance so you can see it while you work. It is commonly shown as bright magenta, but the on-screen colour does not affect cutting - VersaWorks reads the name, not the tint.
Apply it as a stroke, with overprint on
This is where a lot of files go wrong. The CutContour swatch has to be applied correctly to the path you want cut:
- Stroke, not fill. Apply CutContour as the stroke of your cut path. A filled shape gives the blade an area, not a line to follow. A thin stroke on a clean path is what VersaWorks expects.
- Set it to overprint. Turn on overprint for the CutContour stroke so it does not knock a white line out of the printed artwork beneath it. Without overprint, the cut line can punch a gap in your print where the stroke sits.
- Keep it on its own layer. Put every cut path on a dedicated layer above the artwork. That keeps the cut lines easy to find, easy to edit, and easy to hide when you are checking the print.
Let VersaWorks add the marks
You do not draw registration or crop marks into your artwork for a Roland job. VersaWorks adds its own crop and registration marks automatically when it lays the job out for print, and the machine's optical sensor reads those marks before cutting so the blade lines up with the print. Your job is simply to supply clean artwork with a correctly named CutContour path. When VersaWorks opens the file, it recognises the CutContour spot colour, separates those paths out, prints the artwork, then sends the contour to the blade.
Inside VersaWorks you can then assign a cutting condition to the CutContour separation - blade force, speed and offset - and choose whether the machine cuts immediately after printing or waits so the ink can dry first. If you have used CutContour1 and CutContour2, each appears as its own separation that you can tune independently, which is how you set a lighter perforation pass against a full cut-through. None of that changes what you build in your artwork; it is all driven by the named spot colour arriving intact.
Common mistakes that stop the cut
If VersaWorks prints your file but never cuts, it is almost always one of these:
- Misspelt swatch. A space, a lower-case letter or a different word means the RIP treats the path as artwork.
- Process instead of spot. The swatch looks right but was created as a process colour, so it is printed rather than cut.
- Filled instead of stroked. The colour is on a fill, so there is no line for the blade to follow.
- Overprint forgotten. The cut line knocks a white gap out of the print underneath.
- Wrong file format. The file was flattened to a raster or saved in a format that drops spot colours, so the CutContour name is lost.
The faster way: export a cut layer that is already correct
Building a spot swatch, naming it exactly right, stroking the correct path and remembering to overprint is fiddly, and one wrong setting means a wasted print. CutPath Pro handles it for you. Upload your PNG or JPG, it traces a clean cut line that hugs the art, and it exports a cut file with a correctly named cut layer and spot colour ready for VersaWorks. Because it exports PDF and EPS as well as SVG and DXF, and those formats carry spot colours through to the RIP, the CutContour separation arrives intact. You open the file in VersaWorks and cut.
That removes the parts of the job most likely to go wrong: the swatch is named for you, the cut path is a stroke rather than a fill, and it sits on its own layer separate from the artwork. You keep full control at the machine over cutting conditions and whether to print and cut in one go, but you start from a file that VersaWorks already understands. Your first cut file is free, so you can test the whole workflow on your own Roland before committing to anything.
Export a VersaWorks-ready cut layer
CutPath Pro traces your cut line and exports it with a correctly named spot colour, ready for Roland VersaWorks. Your first cut file is free - no card needed.