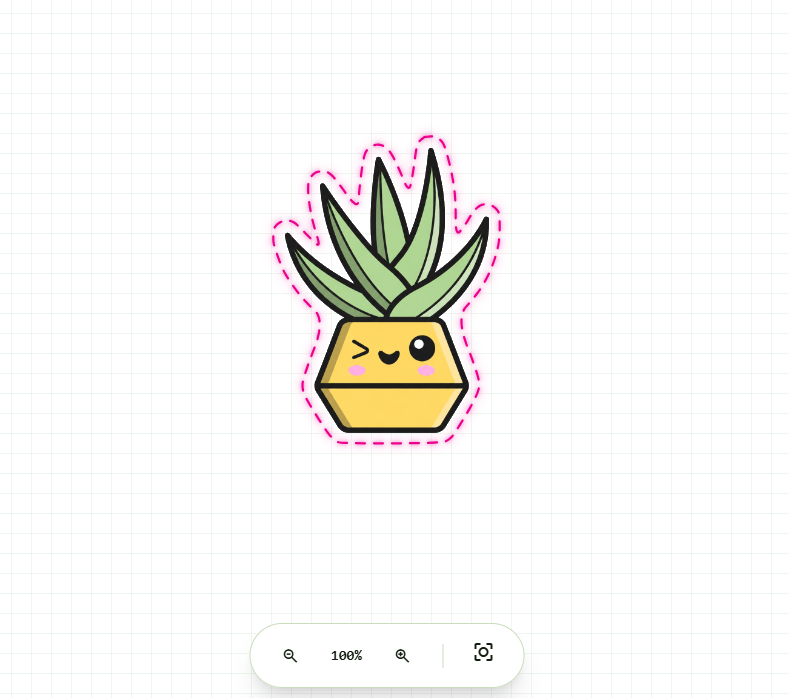
Bleed and Offset for Stickers, Explained
Bleed and offset are the two settings that decide whether your stickers come off the sheet clean or with a thin white line around the edge. They sound similar but they do very different jobs. Here is what each one means and the values to use.
Why both settings exist
Print-and-cut relies on two machines agreeing on exactly where the artwork sits: the printer that lays down the ink and the cutter that follows the line. In practice they never agree perfectly. Paper stretches, the sheet loads a fraction out of square, and the optical sensor rounds to the nearest tolerance it can read. That small, unavoidable drift is the reason bleed and offset are needed at all. One pads the cut position, the other pads the print, and together they hide the error so the finished sticker still looks deliberate.
Offset: where the cut line sits
Offset, sometimes called the cut margin, is how far the cut line sits outside the edge of your artwork. Instead of cutting exactly on the outline of the design, the blade follows a slightly larger path around it. That gap gives the cutter room to be a little off without slicing into the design itself.
For die-cut stickers a typical offset is 2 to 3 mm. That leaves a neat border of backing material around the art and absorbs normal cutting misalignment. A smaller offset looks tighter but leaves less room for error, so any drift risks clipping the artwork.
You can also set a negative offset, which insets the cut line so it runs inside the artwork edge. This is useful for inverse cuts or when you deliberately want a tighter shape than the visible design, for example trimming away a soft outer glow or cutting inside a printed frame.
Bleed: extending the print past the cut
Bleed is the opposite direction. Rather than moving the cut line, bleed extends the printed colour or background past where the cut will land. If the blade comes down slightly inside the printed area, there is still ink underneath the edge, so you never see an unprinted white sliver.
A typical bleed is 1 to 3 mm beyond the cut line. Without it, a cut that lands even half a millimetre inside the print exposes the bare paper or vinyl, which reads as a scrappy white halo around the sticker.
How they work together
It helps to picture three concentric shapes. In the centre is your artwork. Around it, the offset positions the cut line a couple of millimetres out. Further out still, the bleed fills colour past that cut line. The cut is designed to land between the artwork and the outer edge of the bleed, so wherever it actually falls within that band, the result still looks clean.
- Offset positions the cut so a miscut cannot bite into the design.
- Bleed fills outward so a miscut cannot expose white paper.
Set only an offset and a slightly inside cut leaves a white edge. Set only bleed and a slightly outside cut leaves loose printed material past the shape. Using both covers the error in either direction, which is why professional print-and-cut always uses the pair.
Recommended values
- Offset: 2 to 3 mm for most die-cut stickers. Use a smaller value only when you want a very tight cut and trust your machine's alignment. Use a negative offset for inverse or inside cuts.
- Bleed: 1 to 3 mm past the cut line. Match it roughly to the tolerance of your printer and cutter combination - more drift means you want more bleed.
- Corner rounding: soften sharp corners rather than leaving them as fine points. Sharp points on a sticker are fragile, they lift and peel at the tip, and a hard corner is more likely to snag the blade and tear. A small corner radius gives a more durable sticker and a smoother cut.
Set them visually and preview before you export
Getting offset and bleed right by eye in a design app is fiddly, and it is hard to tell whether the numbers work until you have already cut a test sheet. CutPath Pro lets you set the offset (including a negative inset), the bleed and the corner style, then shows you the cut line over your artwork so you can see exactly where it will fall before you commit. When it looks right you export a print-ready file and cut.
Dial in offset and bleed visually
CutPath Pro previews the cut line over your art so you can set offset, bleed and corner style with confidence. Your first cut file is free - no card needed.