Kiss Cut vs Die Cut Stickers: What's the Difference?
Kiss cut and die cut describe how deep the blade goes, not how the sticker is designed. Both start from the same artwork and the same cut line - the difference is whether the machine cuts through the backing or stops just short of it. Here is what that means in practice and how to choose.
What is a kiss cut sticker?
A kiss cut sticker is cut so the blade slices through the vinyl and the laminate on top, but stops just before it reaches the paper backing. The sticker sits on a larger backing sheet with the design outline scored around it, so you can peel each sticker off individually while the rest stay put. It is called a "kiss" because the blade only kisses the surface rather than cutting all the way through.
You have seen kiss cutting on almost every sticker sheet you have ever owned. Because the backing stays whole, you can fit several designs on one rectangular sheet, and the sheet itself is easy to store, post and hand out.
What is a die cut sticker?
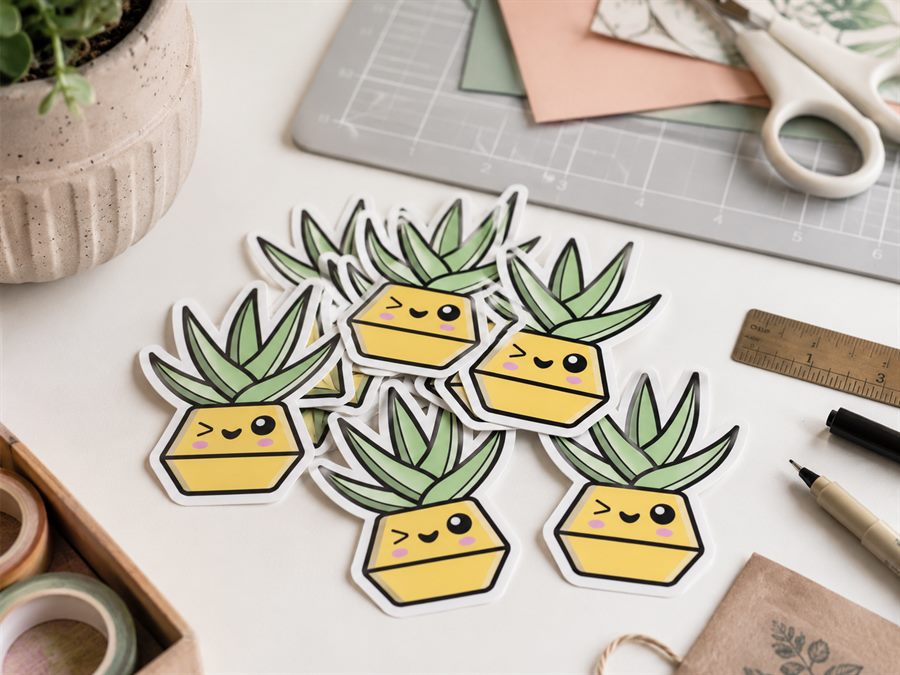
A die cut sticker is cut all the way through both the material and the paper backing, so the finished sticker is a single piece cut to the shape of the design - usually with a small even border following the outline. There is no surrounding sheet left over. You end up with individual stickers, each one already shaped, that you can sell singly or drop into an order.
The name comes from traditional manufacturing, where a custom metal "die" stamped out each shape. Modern desktop and roll cutters do the same job with a blade, but the result is identical: a standalone sticker in the outline of your artwork.
The key difference in one line
Kiss cut leaves the backing intact so stickers peel off a shared sheet. Die cut goes through the backing so each sticker is a separate, pre-shaped piece. Everything else - durability, cost, presentation - follows from that single choice about cut depth.
Durability and handling
Kiss cut stickers are more forgiving to handle and store. Because the edges of the vinyl are still protected by the surrounding sheet, the corners are less likely to lift, catch or peel prematurely in a drawer or a shipping envelope. That makes them a safe choice for anything posted flat or kept in stock for a while.
Die cut singles have exposed edges all the way around, so they can be a little more prone to peeling at the corners if they are knocked about loose in a bag. The trade-off is that a die cut sticker feels finished and premium - there is no spare backing to trim or fold back.
Cost and waste
Kiss cutting is usually the cheaper option per sticker when you are making more than one. You can gang many designs onto a single sheet, print and cut them in one pass, and there is very little wasted material because the whole sheet is used. That efficiency is why sticker sheets and sampler packs are nearly always kiss cut.
Die cutting singles is less material-efficient. Each sticker needs its own border and the space around each shape on the sheet is offcut that gets thrown away. For a one-off custom shape that is fine, but at volume the extra waste and handling add to the cost.
Presentation and use cases
Think about how the sticker will be sold or given out:
- Kiss cut is ideal for sticker sheets, sampler packs, bulk giveaways, packaging inserts, and anything where a customer picks stickers off a shared backing. It is the easiest format to peel and the tidiest to store.
- Die cut is ideal for single custom-shaped stickers sold individually - the hero sticker of your shop, laptop and water-bottle stickers, or a shaped decal where the outline itself is the product.
Neither is "better". A shop might sell die cut singles of its most popular design and a kiss cut sheet that bundles the whole range together.
The cut file: what actually changes
This is the part that surprises people. The vector cut path can be exactly the same shape for a kiss cut and a die cut version of the same sticker. The line that hugs your artwork does not care how deep the blade travels.
The real difference lives on the machine, not in the file. It comes down to blade force and depth:
- Kiss cut uses a lighter force and a shallower depth so the blade cuts the top layer only and leaves the backing intact.
- Die cut uses more force, or a second pass, so the blade goes through the material and the backing to release the sticker.
On cutters such as Silhouette, Cricut, Roland and Graphtec you set this with the blade depth, force and pass settings, and often by choosing the material type. The same exported file can produce either result depending on how you dial the machine in - so it always pays to run a small test cut on your actual media first.
There is one design nuance worth knowing. Die cut singles often use a slightly larger offset, so the cut line sits a touch further out from the artwork and gives the finished sticker a small, even border. That border makes a standalone sticker look intentional and is easier to peel. Kiss cut stickers on a sheet can use a tighter offset because the surrounding sheet protects the edges anyway. If you are producing both from one design, you might export the die cut version with a marginally bigger offset.
The other practical point is layout. Because a kiss cut sheet keeps its backing, you can gang many stickers onto one rectangular sheet with registration marks around the outside, print it, and cut every design in a single job. A die cut run can be laid out the same way for cutting efficiency, but the deeper cut releases each sticker as its own piece rather than leaving them on a sheet.
How to make the cut line for either
Whichever finish you want, the starting point is the same: a clean vector cut line that follows your design, with a sensible border offset and registration marks the machine can read. Drawing that by hand around every sticker is the slow part. CutPath Pro does it for you - upload your PNG or JPG, it traces a tidy cut line around the art, lets you set the offset for a tight kiss cut edge or a slightly larger die cut border, and adds correctly-sized registration marks. You export a print-ready SVG, PDF, DXF or EPS and choose your blade depth on the machine to get a kiss cut or a die cut result.
Make the cut line for either
CutPath Pro builds a clean cut line and machine-ready registration marks from your artwork - use it for kiss cut sheets or die cut singles. Your first cut file is free, no card needed.