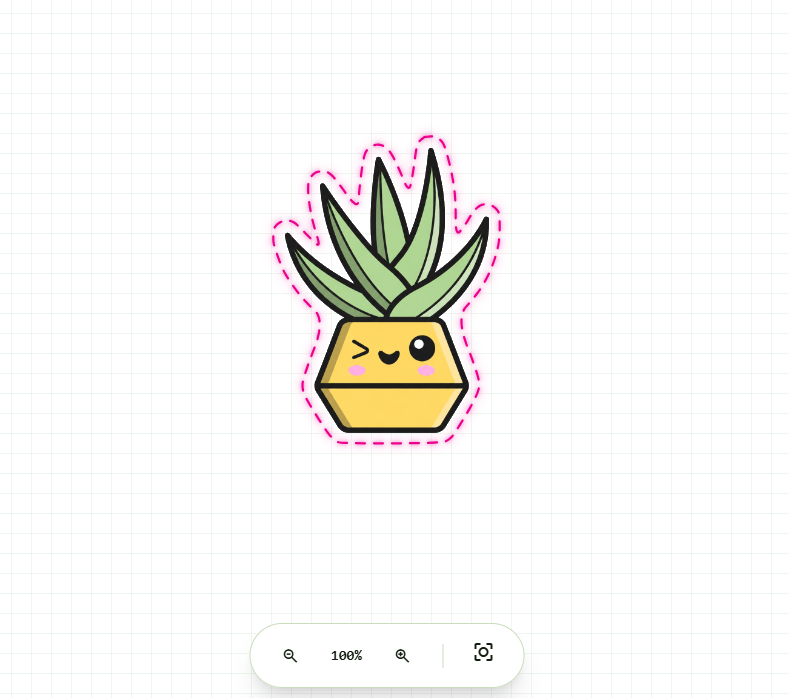
How to Remove a Background for Die-Cut Stickers
A die-cut sticker is cut to the shape of your artwork, not to a rectangle. That only works if the background has been removed first. Here is why it matters, how to do it cleanly, and how to skip the step entirely.
Why background removal matters for die cut
A die-cut cut line follows the edge of the opaque pixels in your image - the boundary between the parts that are filled in and the parts that are see-through. That boundary is the alpha edge, or transparency edge. When the software traces a cut line, it looks for where solid pixels stop and transparency begins, and it runs the blade along that outline.
The problem is that a photo or a JPG has no transparency at all. Every pixel is filled, right out to the four corners of the file, so the only edge available to trace is the rectangular edge of the image itself. Feed that straight to a cutter and you get a rectangle around your subject, not a contour that hugs it. To get a true die cut, the flat background has to be removed first, leaving only the subject sitting on transparency.
Methods and their trade-offs
There are several ways to knock out a background, and they vary in control, cost and how clean the result is.
- Photoshop. The most control. Use Select Subject or Remove Background for a quick automatic mask, then tidy it with Select and Mask to refine the edge. Working on a layer mask rather than deleting pixels means you can paint the selection back in where the automatic tools trim too much. Best for detailed or awkward subjects, but it is paid software with a learning curve.
- Free online tools such as remove.bg. Upload an image and it returns a cut-out in seconds. Excellent for clear, high-contrast subjects like a single product or a person. Fine detail such as hair or thin edges can come out rough, and the free tier often limits resolution.
- GIMP fuzzy select. The free desktop route. The fuzzy select (magic wand) tool grabs contiguous areas of similar colour, which works well when the background is a single flat colour. Add an alpha channel first, then delete the selection so the removed area becomes transparent rather than white. More manual, but free and offline.
- Canva background remover. One click inside Canva if you already work there. Convenient for quick jobs, though it is a paid Pro feature and gives you less control over the edge than a dedicated editor.
Tips for a clean cut edge
The quality of the cut-out decides the quality of the die cut. A messy alpha edge traces into a messy, jagged cut line. Keep these in mind:
- Start with contrast. A subject that stands out clearly from its background gives every tool a sharp boundary to find. If you are shooting the photo yourself, use a plain, contrasting backdrop.
- Avoid soft or feathered edges. A gentle fade from subject to background looks nice on screen but leaves the cutter guessing where the real edge is. Aim for a crisp boundary.
- Watch for stray semi-transparent pixels. Faint halos or partly-transparent specks left behind by an automatic tool can each be read as their own tiny outline. Zoom in and clean them off.
- Export as a transparent PNG. PNG preserves the alpha channel; JPG does not. Save as JPG and the transparency is flattened back onto a solid background, undoing all your work. Always export the finished cut-out as a PNG.
Once you have a clean transparent PNG, the hard part is done. The cut line can now be traced directly from the subject outline, because the software finally has a real alpha edge to follow instead of the rectangular border of the file.
The faster way: let CutPath Pro do it in one step
Removing the background and then tracing a cut line is two separate jobs in two separate tools, and each one is a chance to introduce a rough edge. CutPath Pro collapses them into a single step. Upload a JPG or a photo with a solid background and it removes the background automatically, then traces a clean cut line around the subject in the same pass - so you do not need a separate background-removal tool at all. You get a print-ready file with a contour that hugs the art, ready to send to your cutter.
Background out, cut line in - automatically
CutPath Pro removes the background and traces a clean die-cut line in one step. Your first cut file is free - no card needed.